For those who use a windows PC one thing that is not lacking are the alternatives for you to capture your screen without installing anything. If you wish to learn more and check out the many ways to do it, just keep reading our tips below and start taking screenshots when playing some of the best free games on Steam!
1. Copy to clipboard
The first thing you can do is simply press the “Prt Sc” key (that is, Print Screen) on your keyboard to capture your entire screen with whatever is showing on it. The image will be saved on your PC’s clipboard, which means that you’ll need to paste it somewhere or it will be replaced by the next thing you copy. For that, you can simply open up Paint or any image editing software you have installed in your computer. It is possible to paste the screen capture by pressing the “Ctrl” and the “V” keys together in the software you have chosen. Then, you will be able to save it or edit it as you wish! y
2. Snipping Tool shortcut
The Snipping Tool is a tool that has been included ever since Windows Vista which allows you to select exactly what part of the screen you wish to capture when taking a screenshot. To use it you don’t need to download anything, since it already comes preinstalled by default. Use the following command sequence: “Windows” + “Shift” + “S”. You will notice your screen darkening somewhat. All you need to do after is click and drag a selection of where you want to capture. Then, Windows will show you a notification asking what you want to do with it, making saving it easier.
3. Save to your HDD
In case you don’t want to have to always go through the work to paste the image somewhere before saving it, you can use a shortcut to save it directly to your HDD. For that, you just need to press the “Windows” and the “Prt Sc” keys at the same time, That will save a screenshot on Windows to an image file in the folder called “Screenshots” inside the “Images” folder. These folders already exist on your system, so there’s no need to create them first.
4. Take a screenshot of a specific screen
If you want to take a screenshot of a specific screen in Windows, you can use the keyboard shortcut “Alt” + “Prt Sc” while on the window you want to use. Unlike the first tip on this list, the shortcut will exclusively capture the current window you’re in, instead of the entire screen with the taskbar and start menu. The only real issue is that the capture is also stored on the clipboard, meaning you must then paste it on Paint or any other image editing software to the save it as a file on your computer.
5. Snip & Sketch
Similar to Snipping Tool but with even more options, Snip & Sketch is another native software for taking screenshots that can be found on Windows 10. To use it, you need to open the app by typing its name on the search bar on the Start menu. The biggest advantage that Snip & Sketch to take screenshots is that beyond selecting the exact area of the screen you want, you can also draw, make arrows and take notes on the capture, making it ideal to create Instagram tutorials, for instance.
6. Paste to some image editing software
Remember, whatever shortcut you choose to use to take a screenshot in Windows, you’ll always have to option to past it into any image editor, which can be accomplished by either right-clicking and selecting “Paste” or using the keyboard shortcut “Ctrl” + “V”. For instance, you can do that on Paint, on Adobe Photoshop or even directly on messaging apps such as Facebook Messenger’s Stories or even WhatsApp or Telegram.
7. Using the tablet shortcut
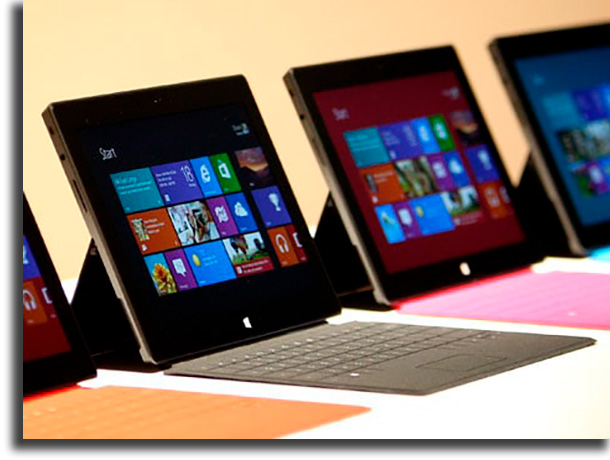
In case you use a tablet or a hybrid device (which is both a notebook and a tablet at once) that uses the Windows 8 or Windows 10 software, you can take a screenshot in a somewhat different way. Remember, you can use this tip to capture the best moments when on any of the best mobile multiplayer games! Since you don’t always have a keyboard laying around in these scenarios, you can simply press the Windows key on the tablet itself and the lower volume button at the same time.
8. LightShot
LightShot is an app that can be downloaded both on Windows computers and Macs alike. Its advantage is that it offers some really convenient additional resources and tools , such as the possibility to upload a screen capture to an automatic cloud storage. Besides, LightShot also has some editing resources, cutting tools, area selection and the possibility to create formats and to select specific areas in a photo, which might come in really handy when you wish to show something specific on a screenshot. Even better, it is completely free for use. Learn more on their official website.
9. Greenshot
To close off our list we have another app alternative to make this task easier: Greenshot. It is quite similar to LightShot, also allowing you to cut your screenshots and offering some tools to blur and select specific areas in the screenshots. You can also annotate and export the captures directly on email or to some of the biggest image websites, such as Flickr, Picasa and others. Follow the link to download it for free on your Windows computer.
So, did you learn how to take a screenshot in Windows?
Did you take advantage of our tips for taking prints on your Windows PC? Also, did you know that there are applications that will help you not only take a print, but also record what you are doing on the computer? To learn more, click now on the link to get to know Movavi Screen Recorder!


